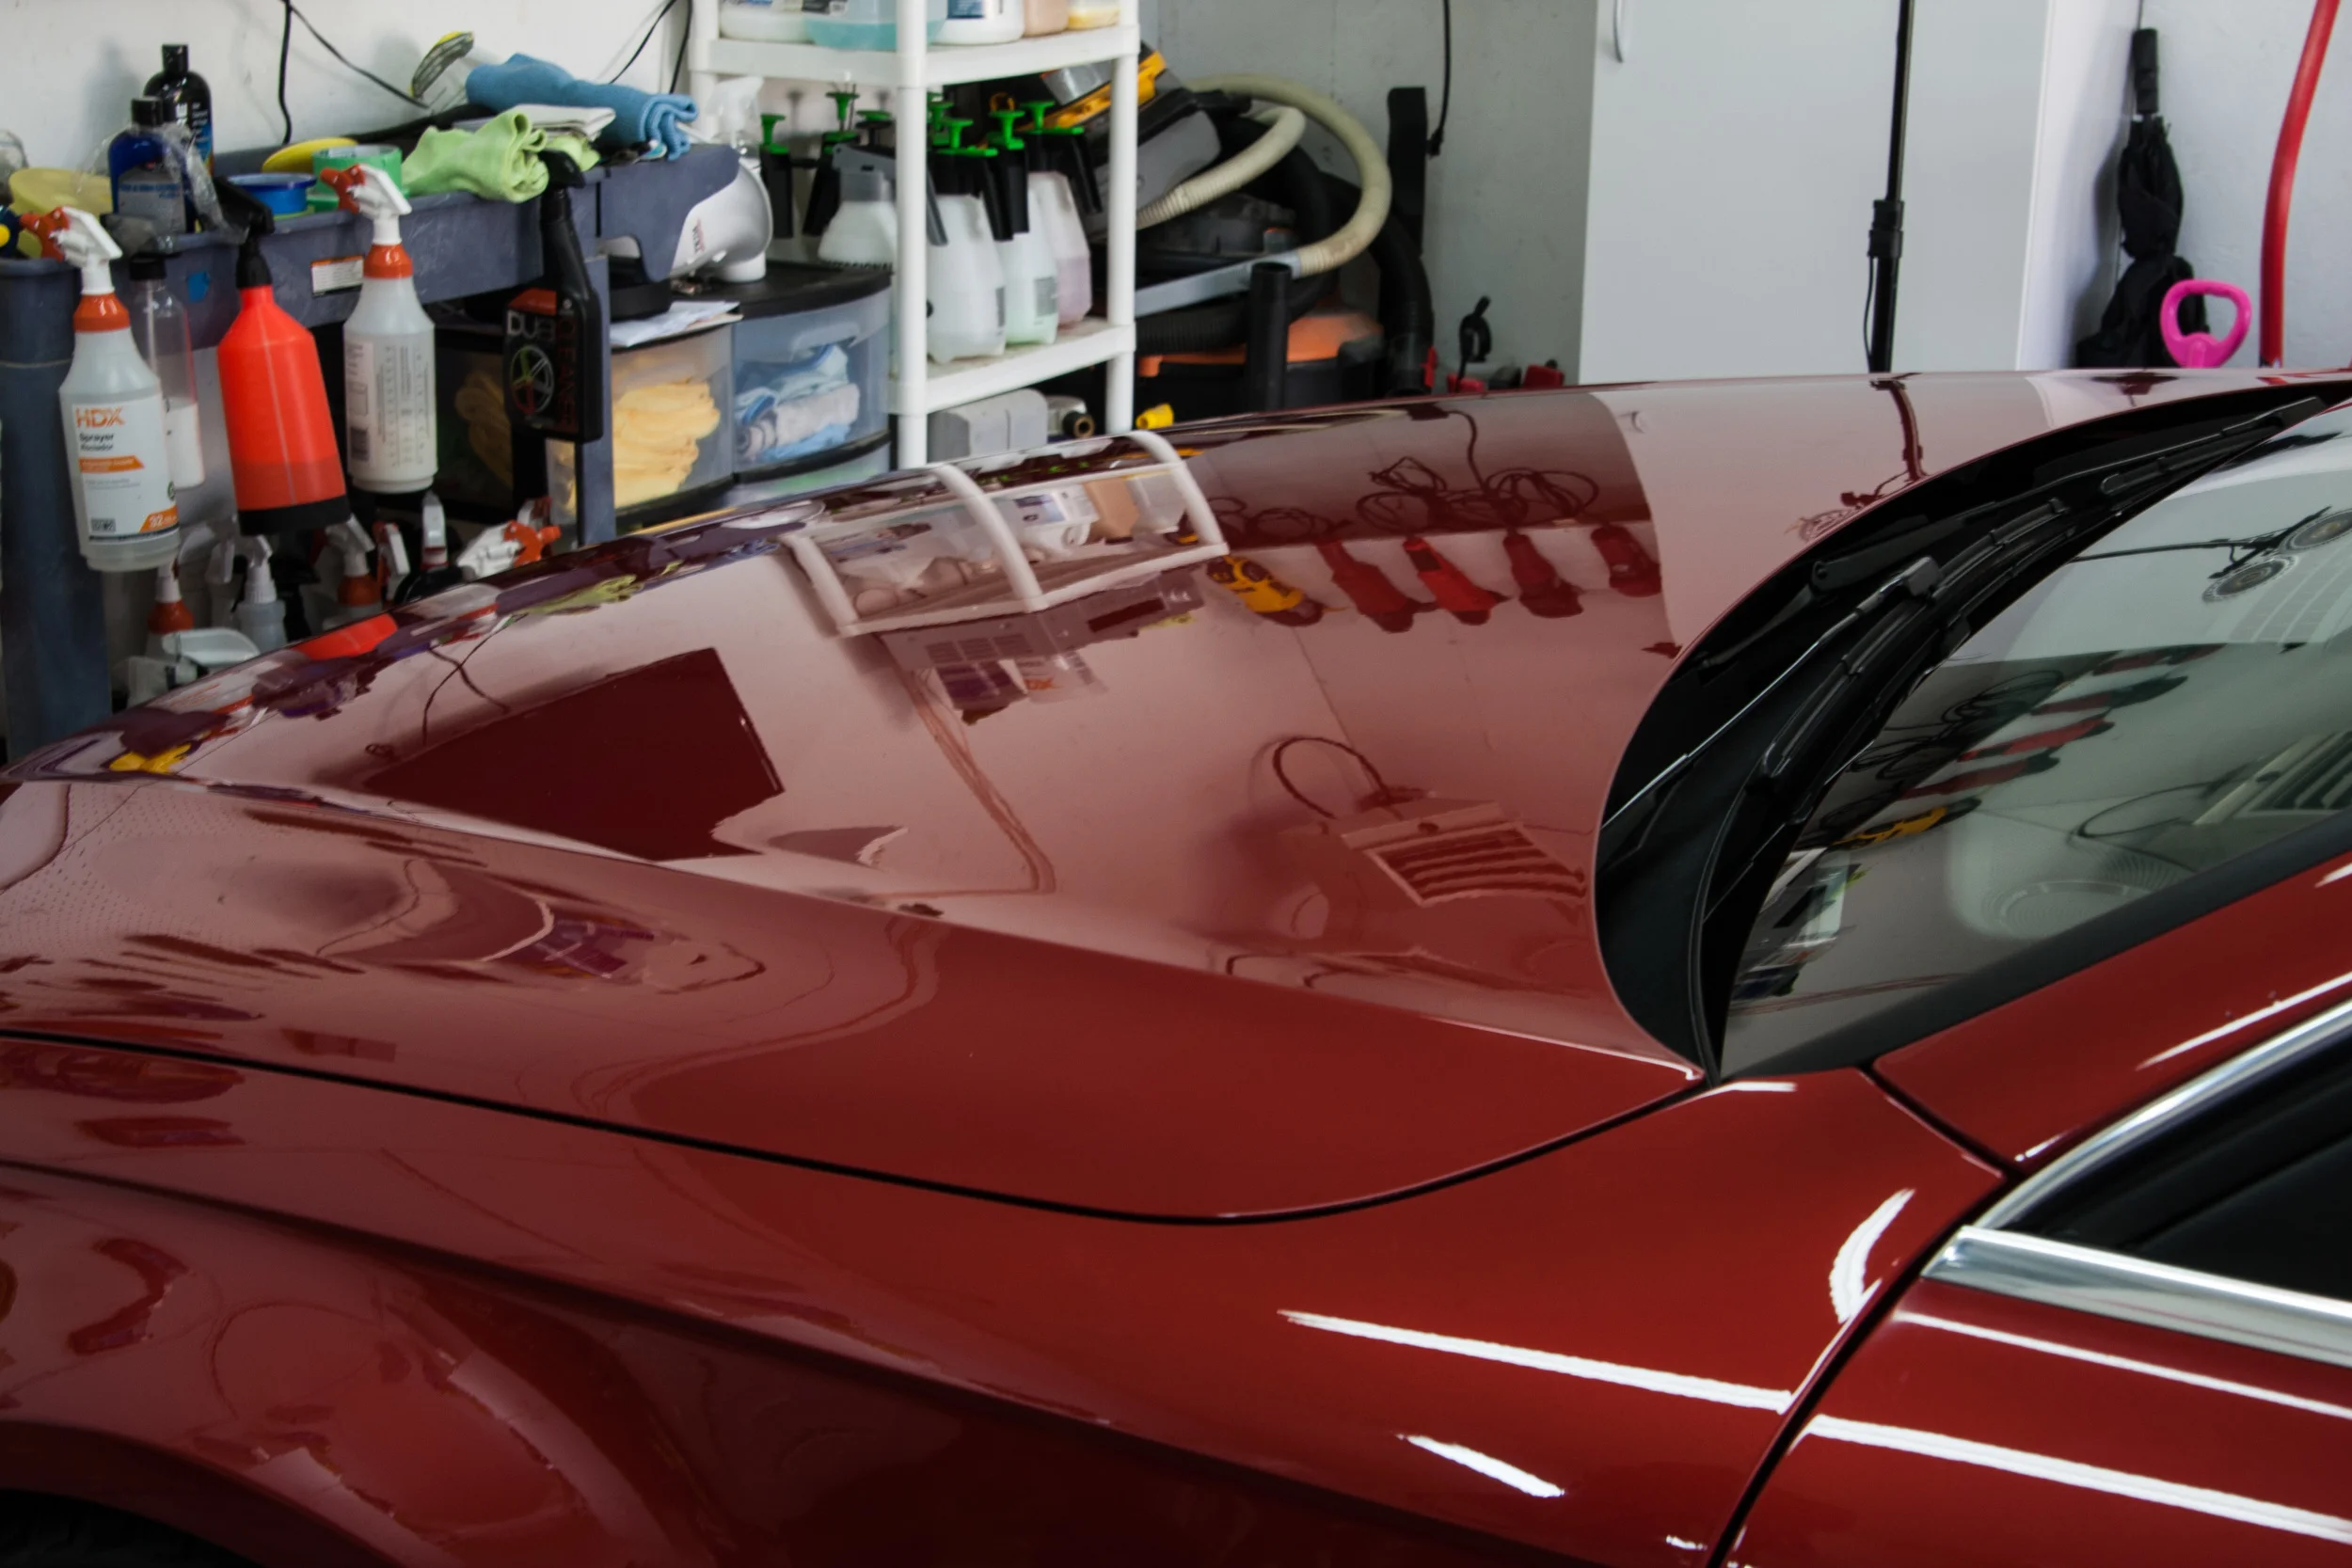
This particular car is owned by an enthusiast that does take very good care of it. It serves as an example of several principles within the maintenance of a vehicles appearance.
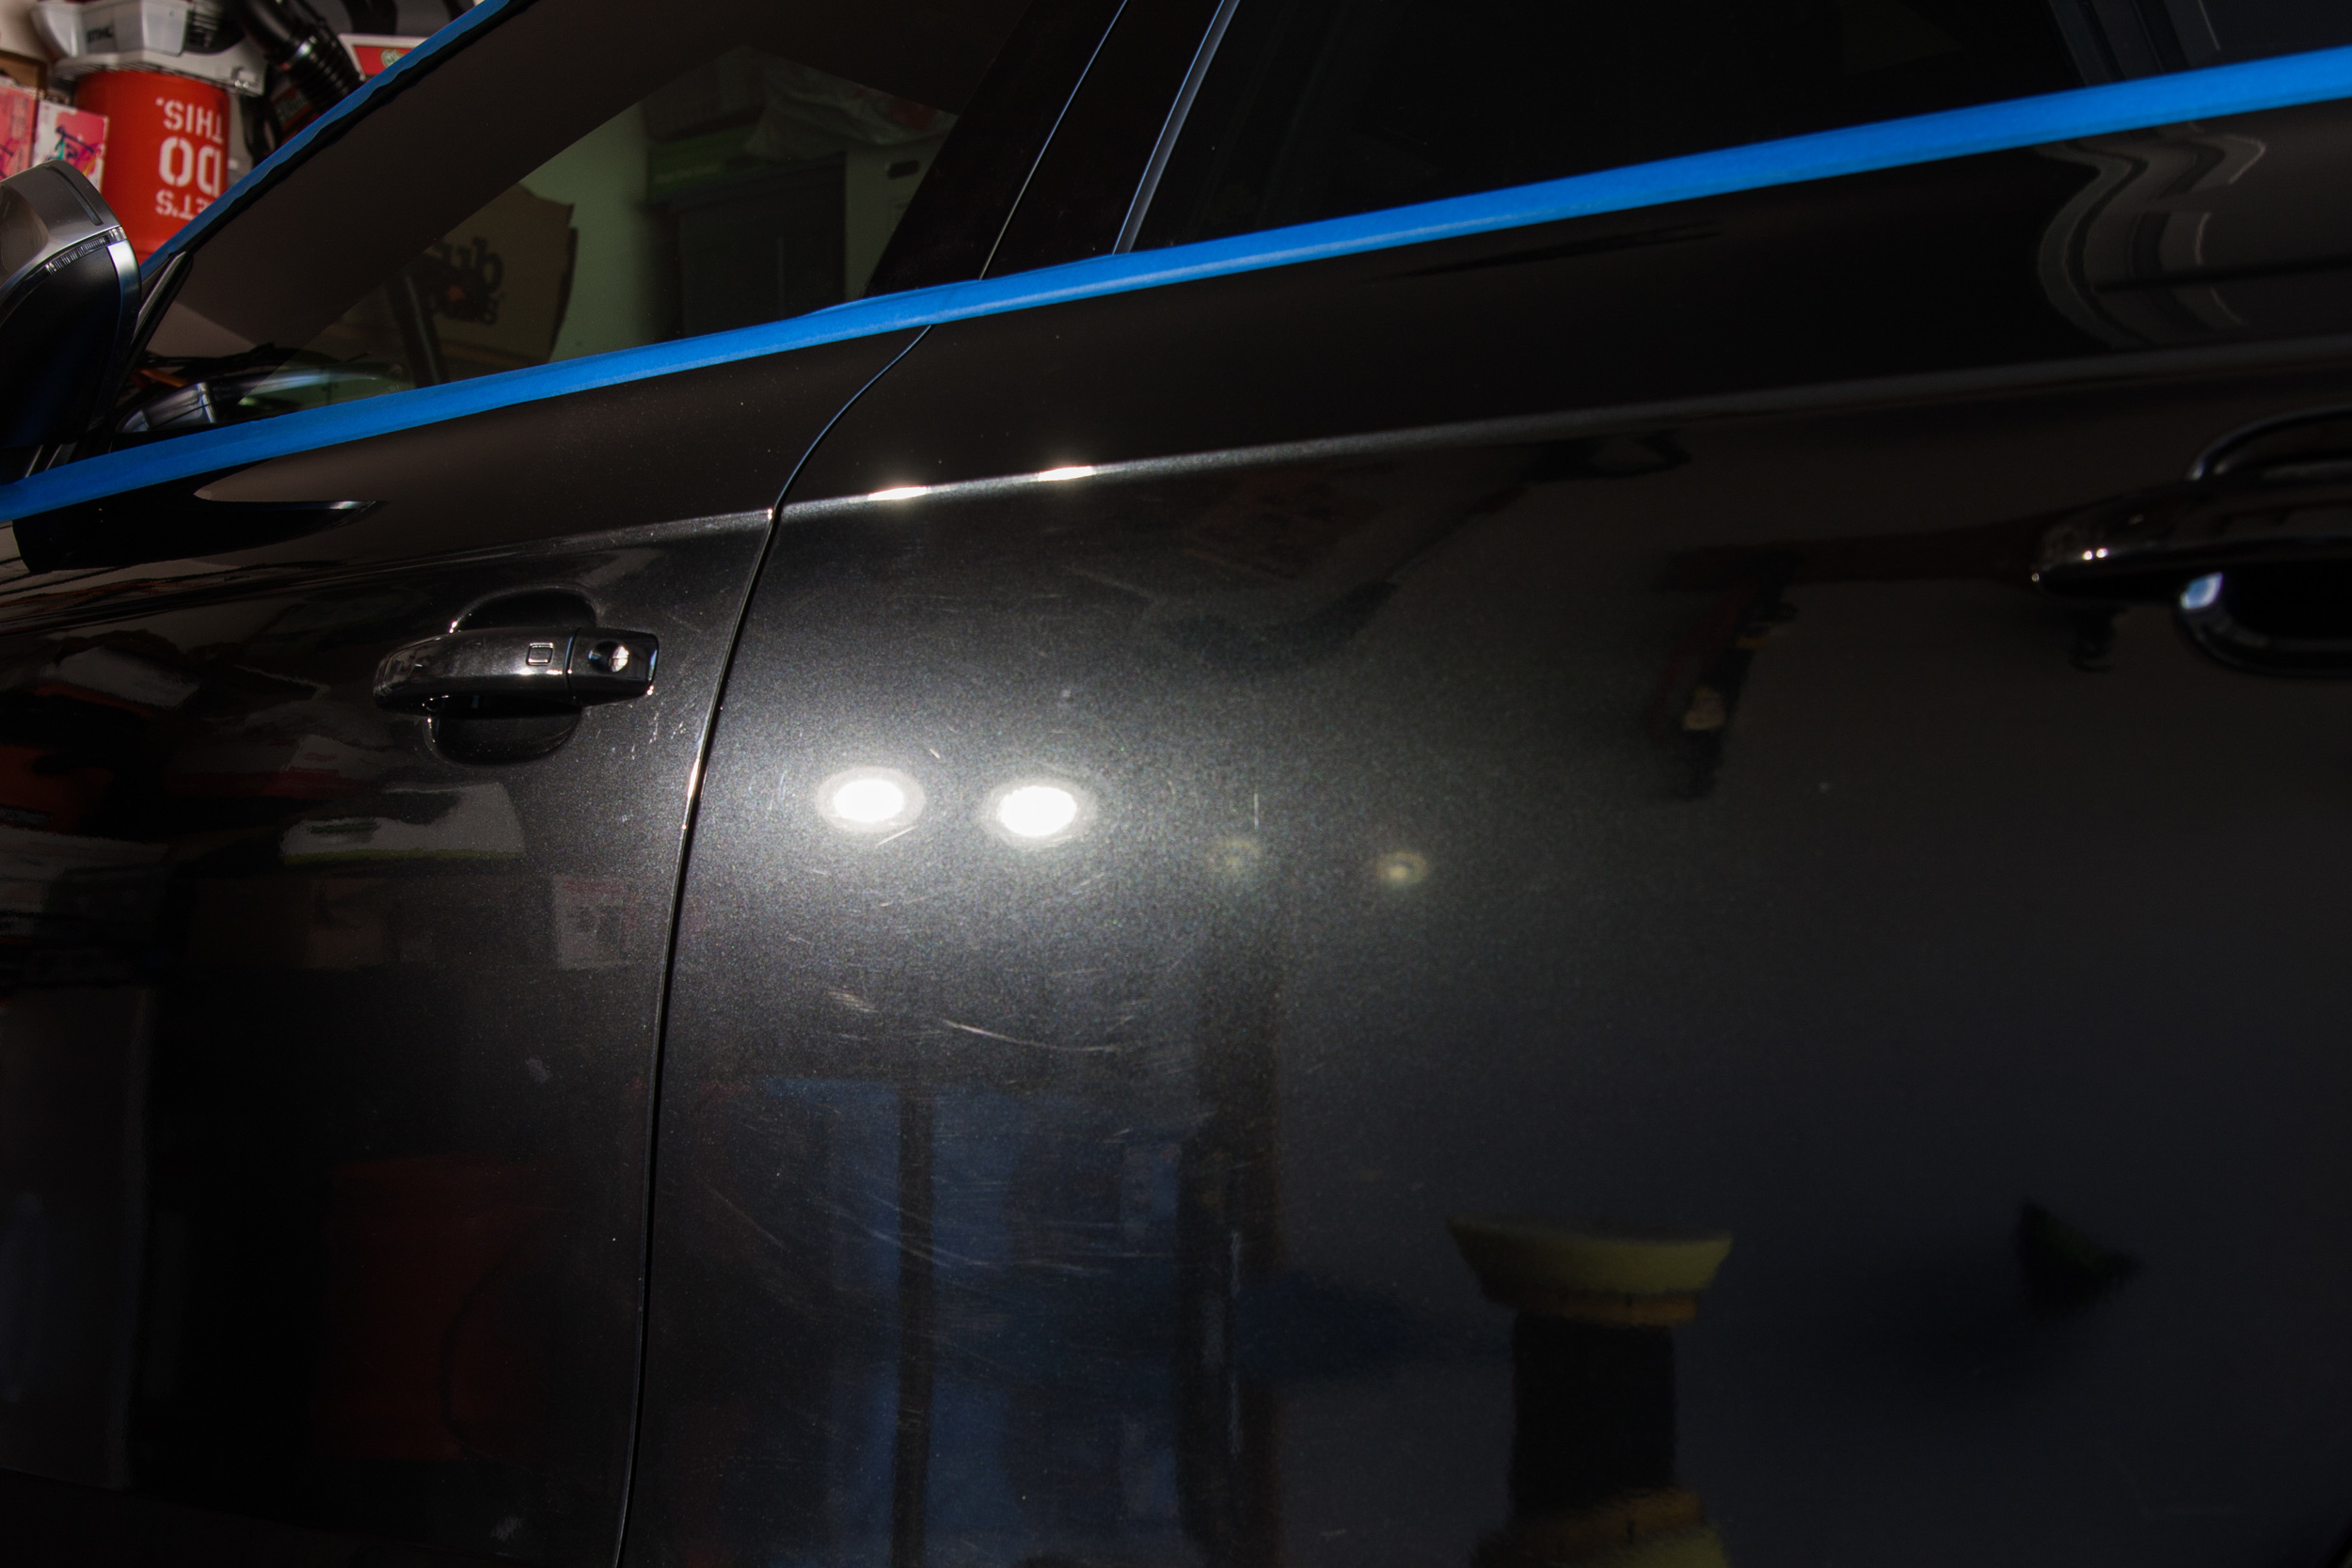
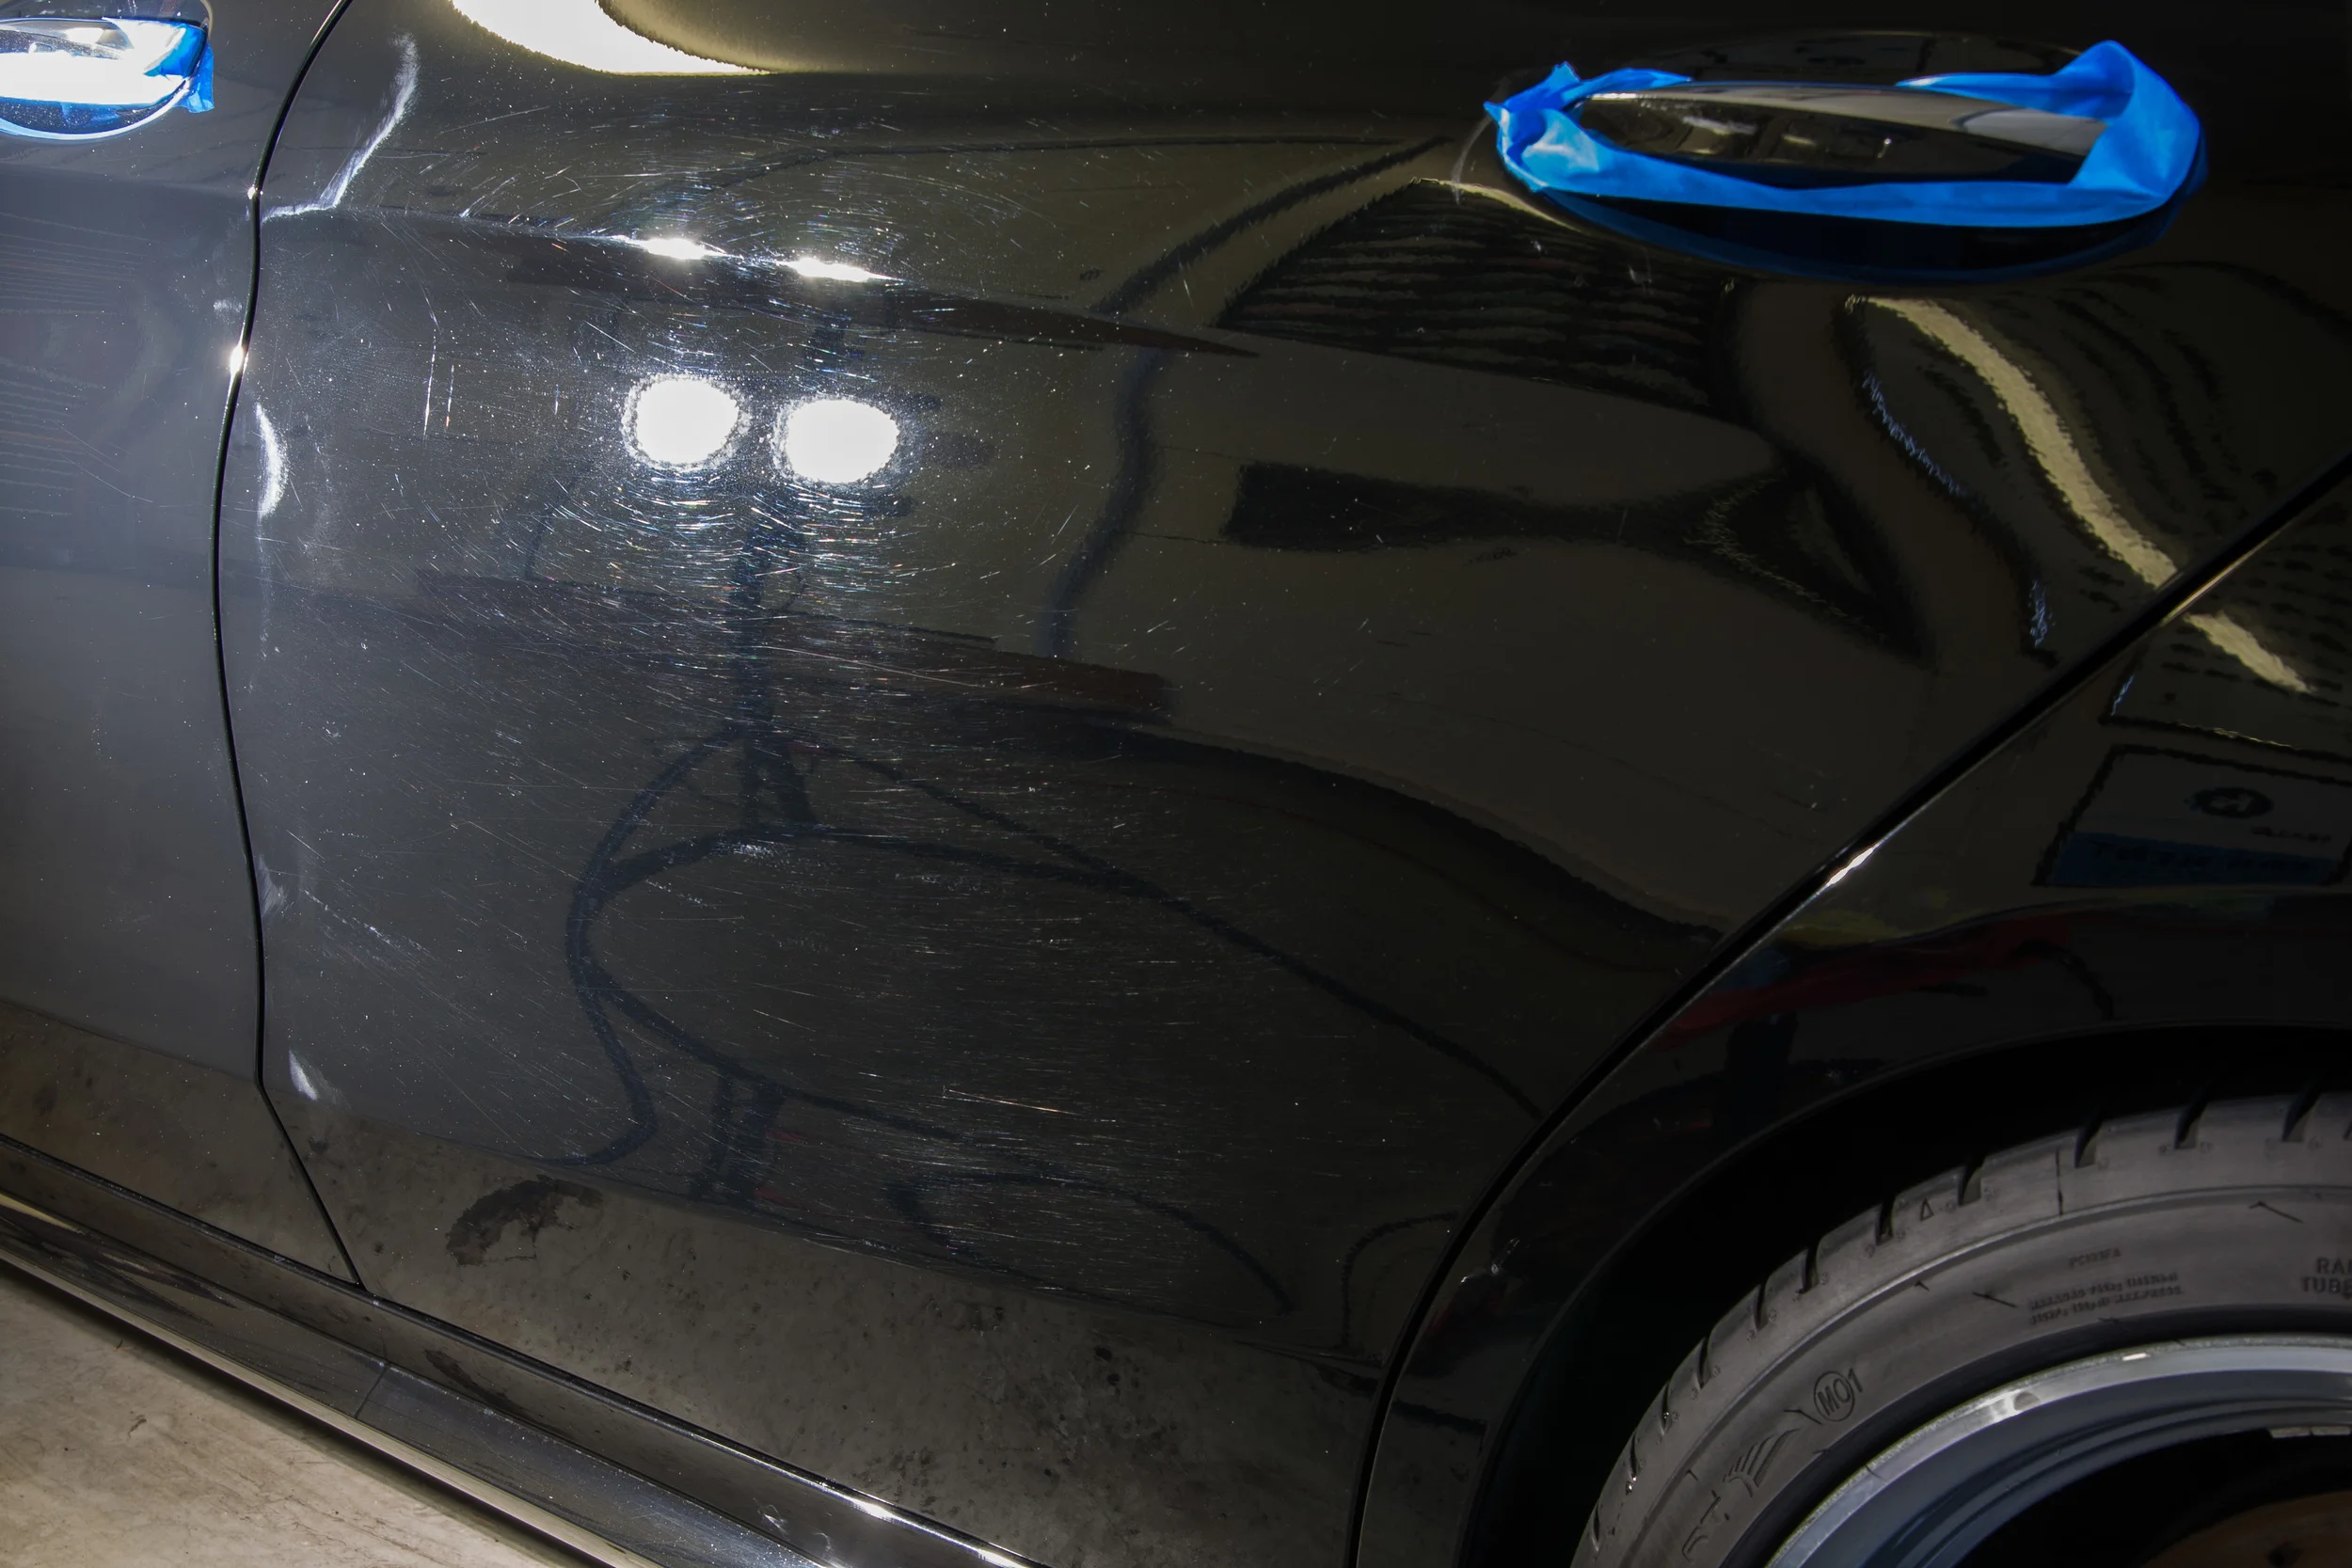
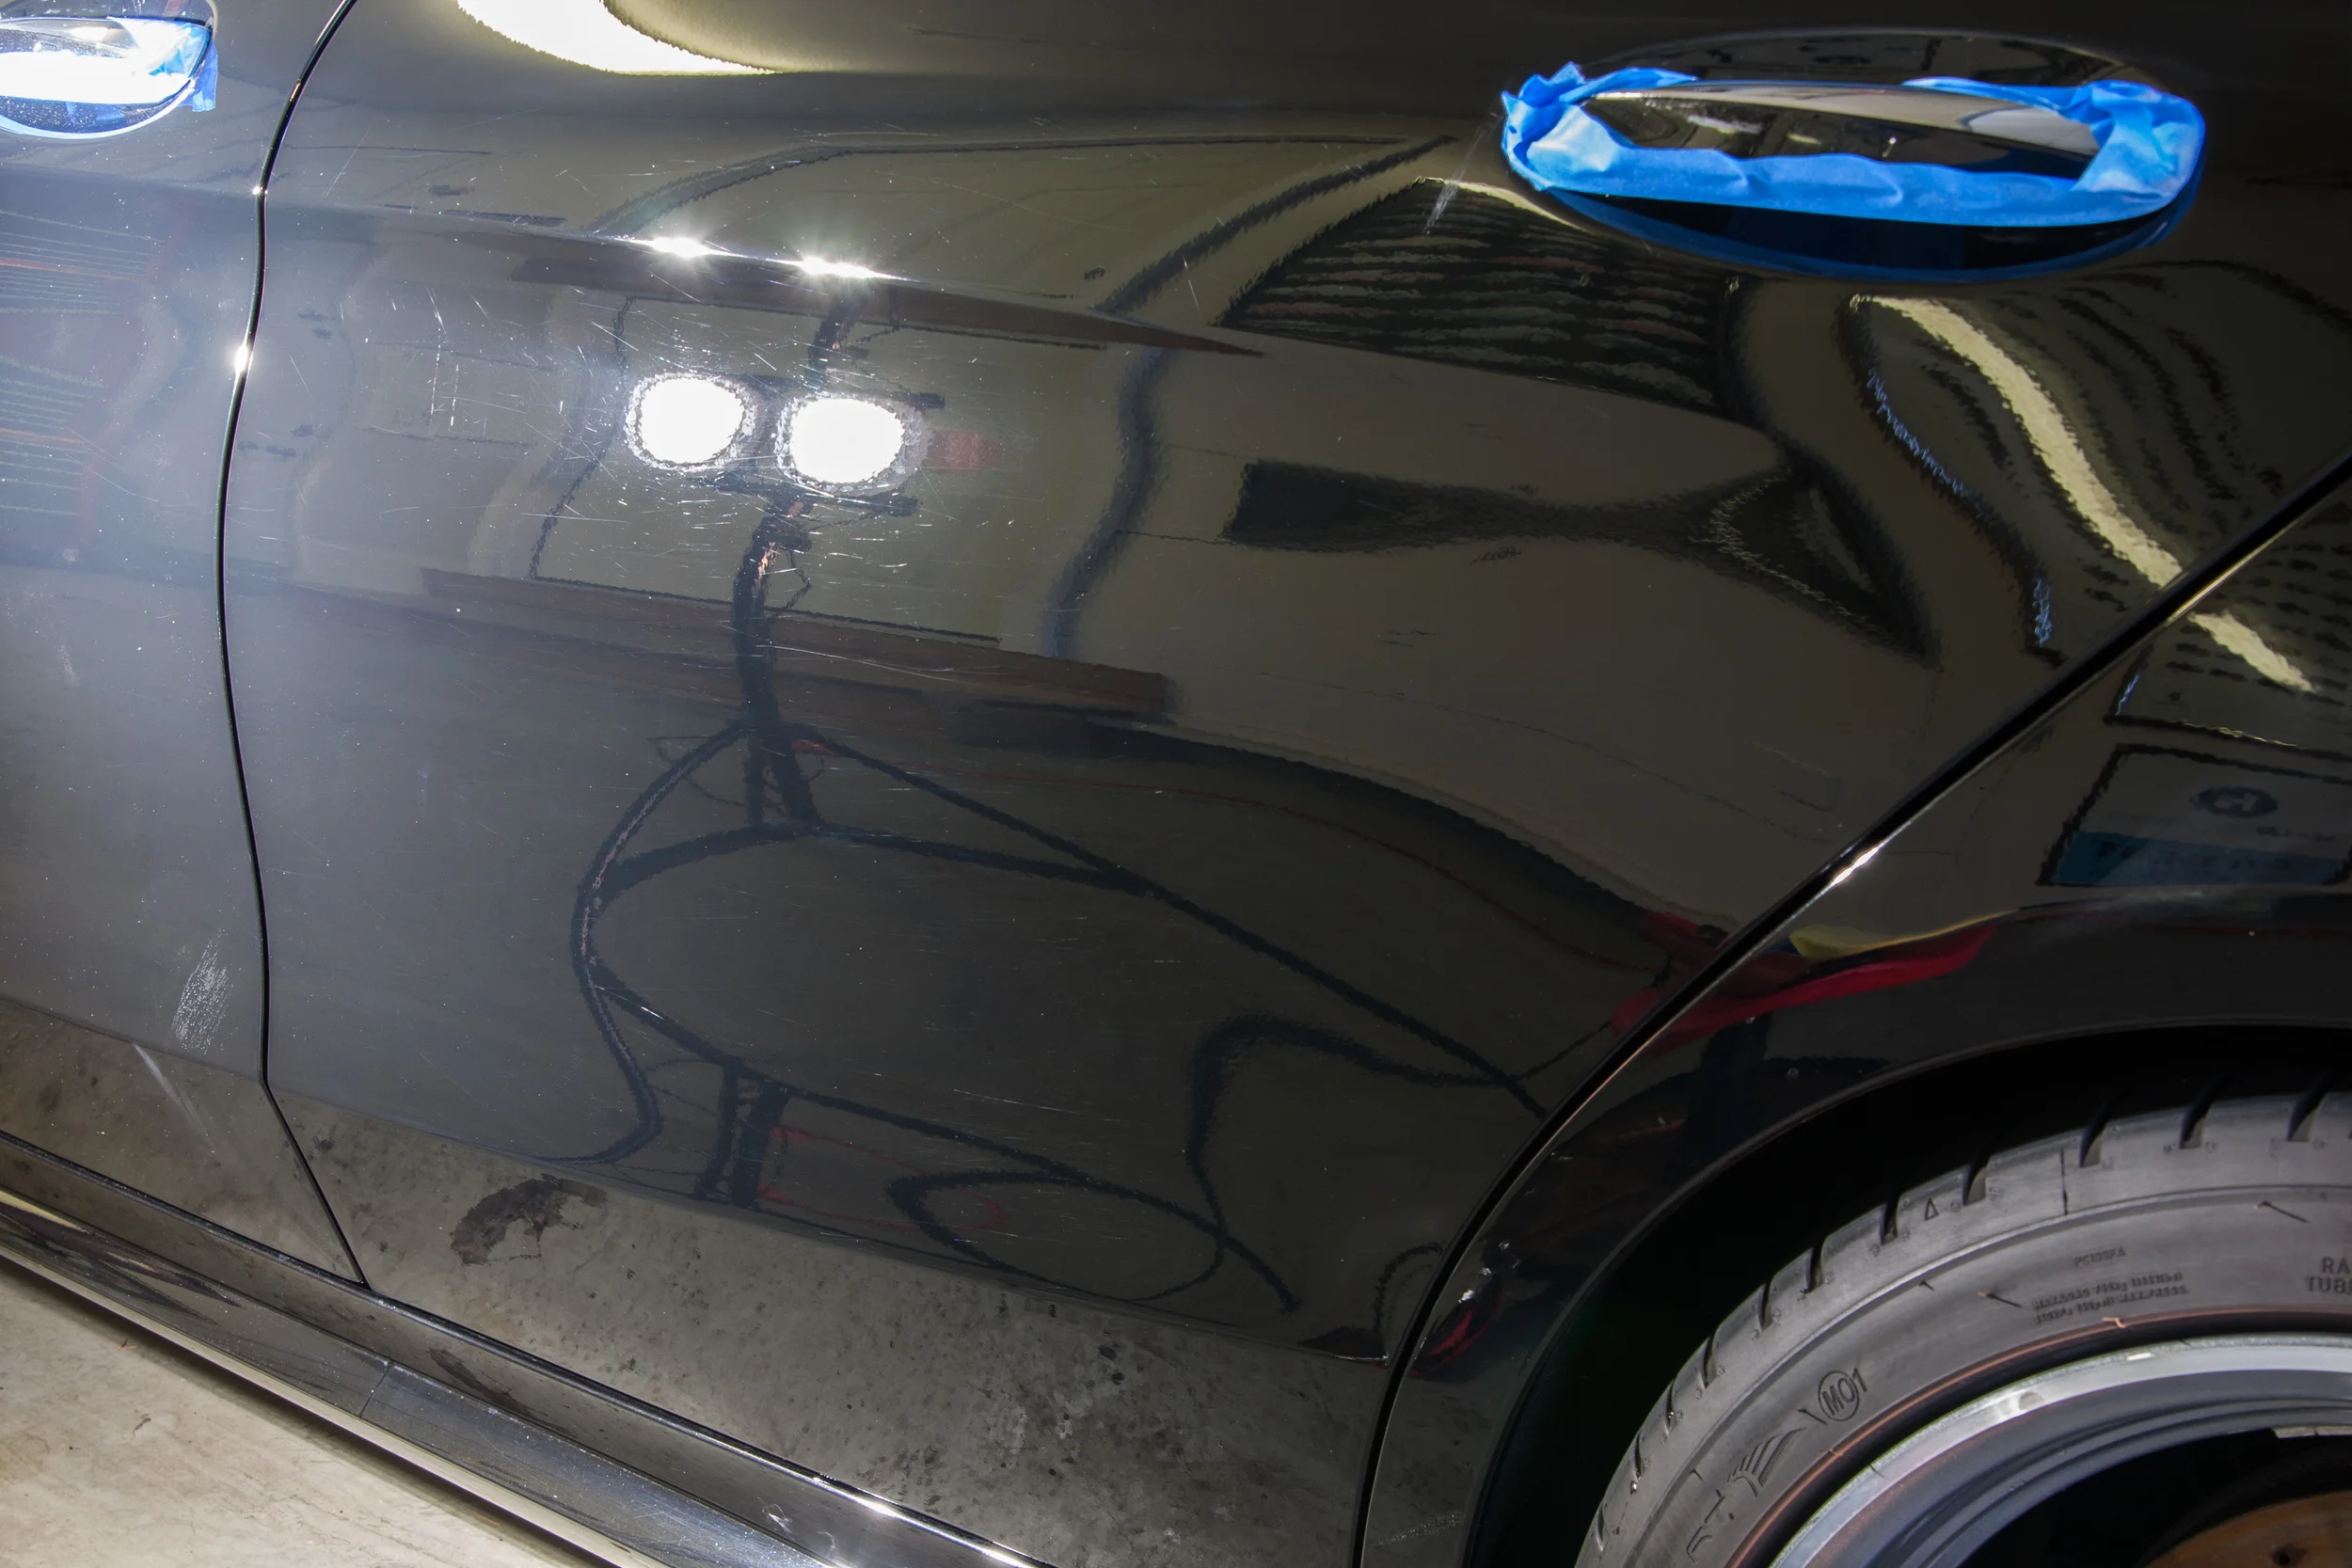
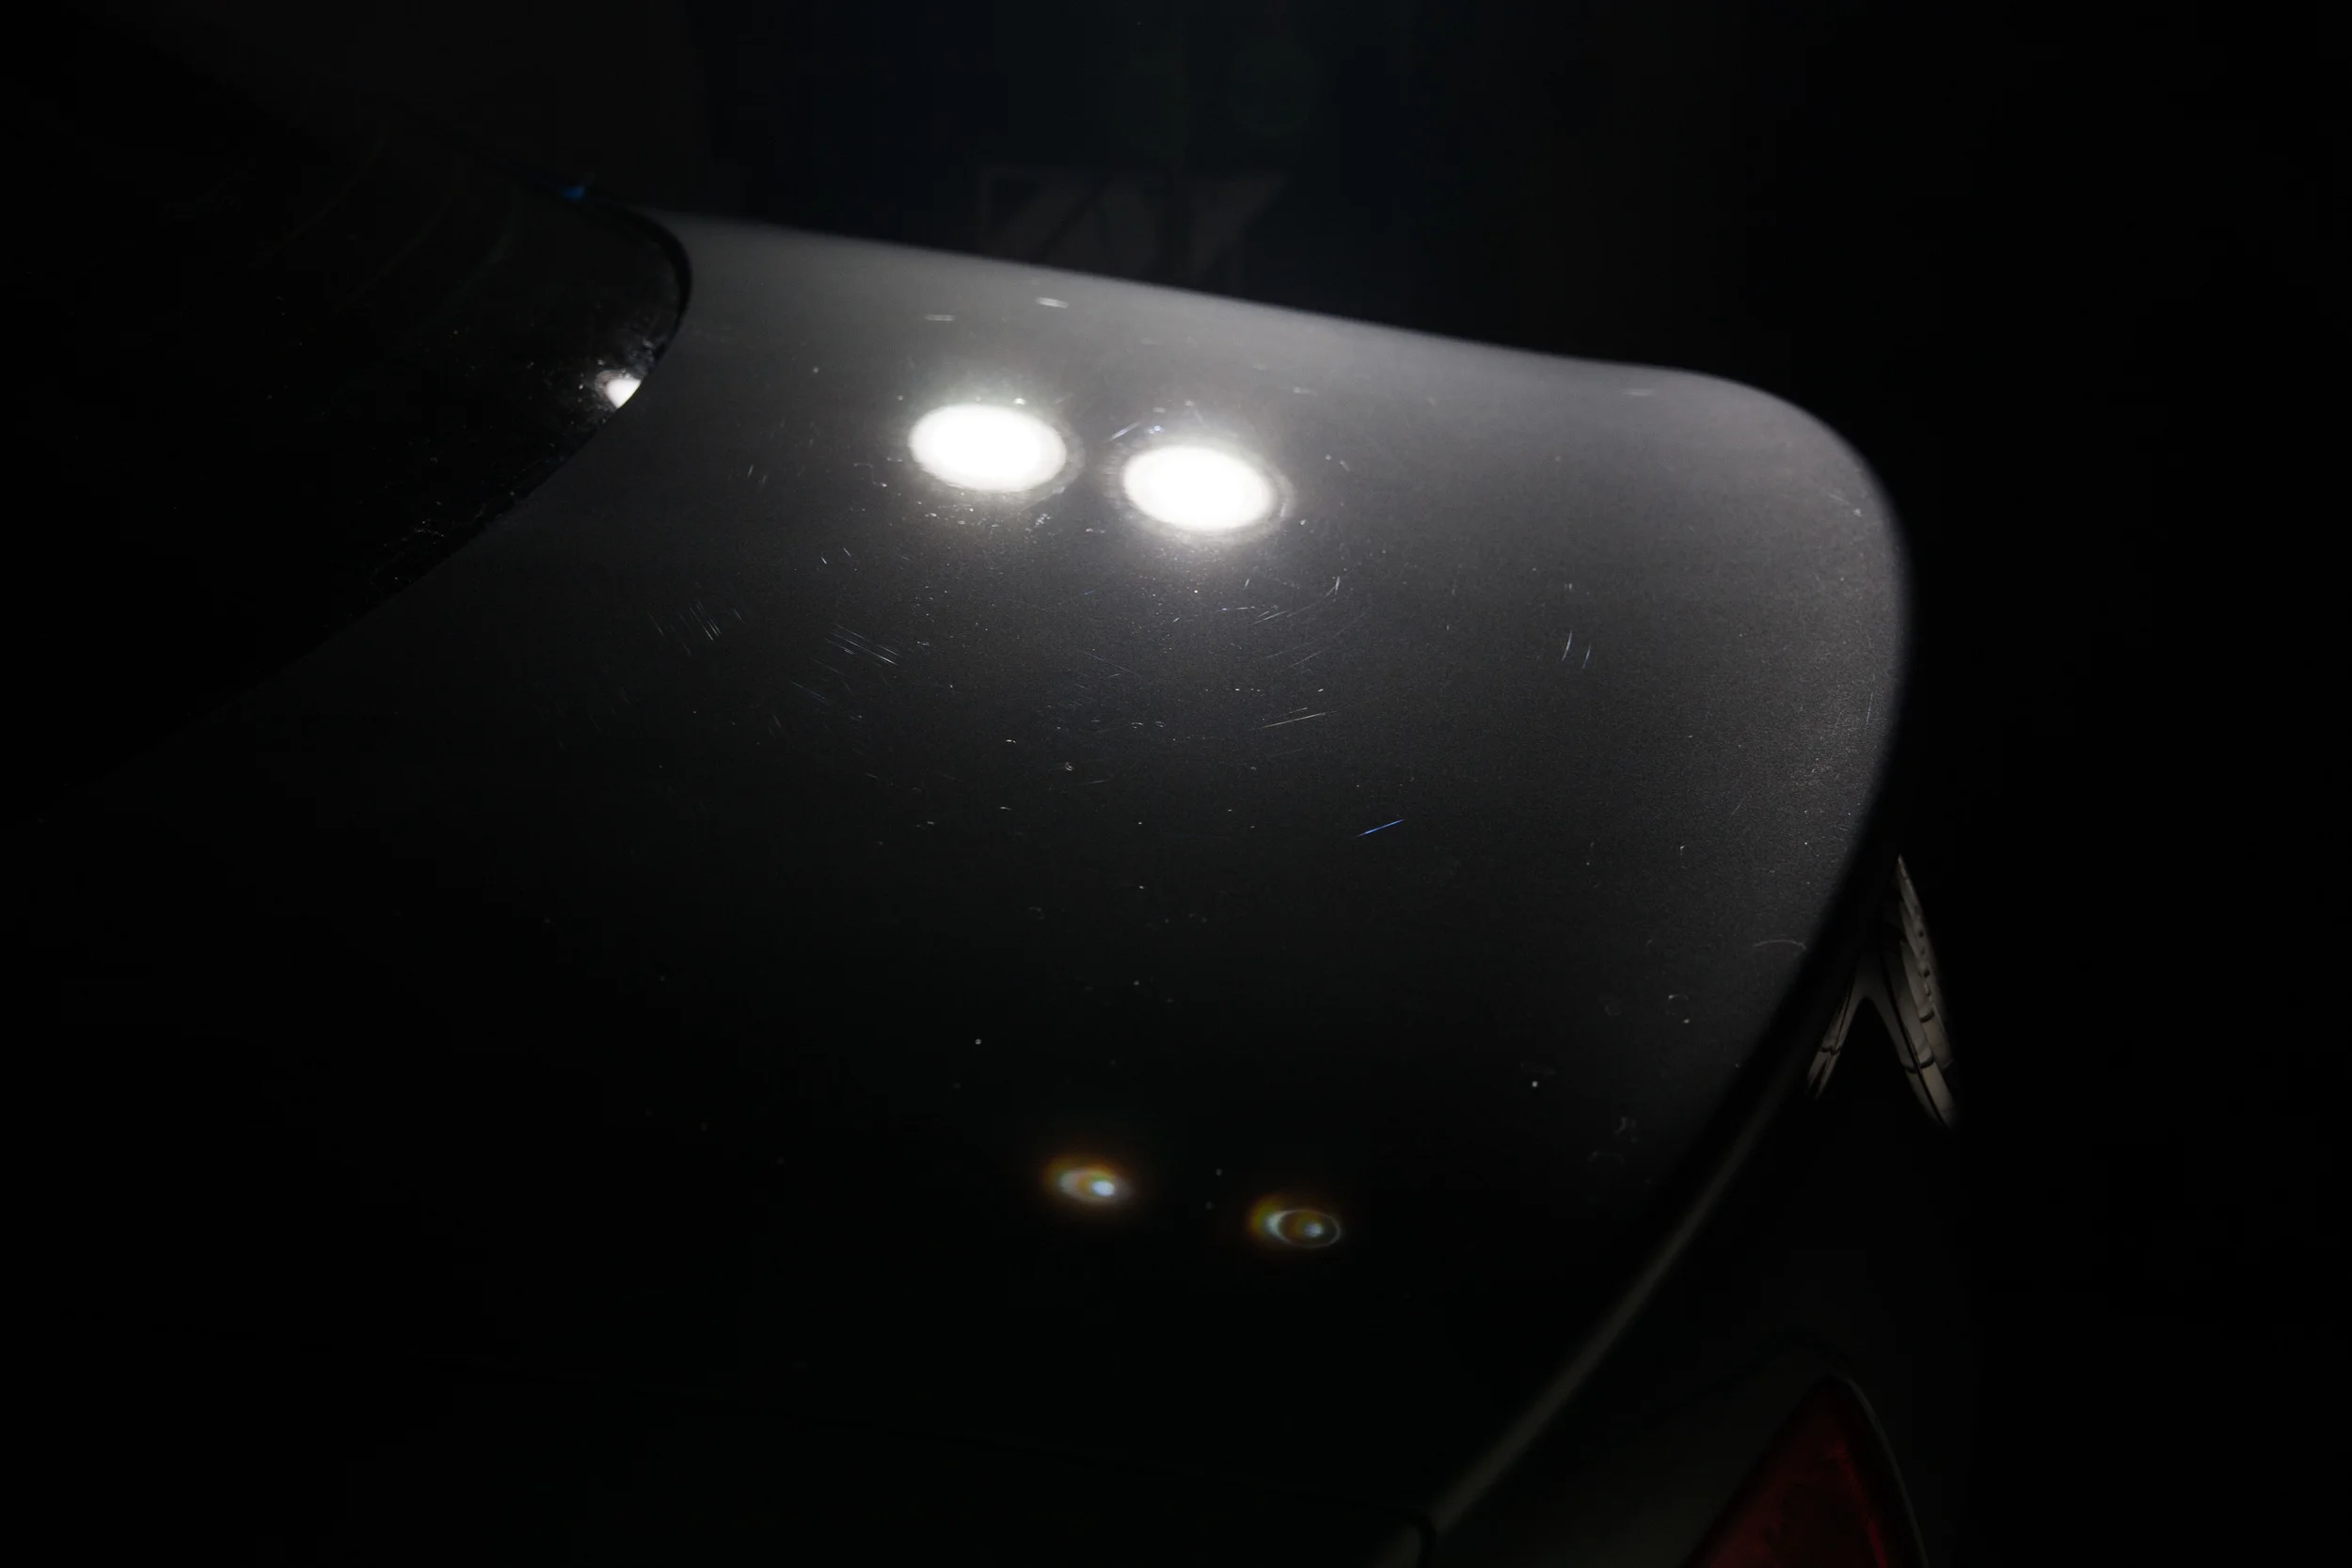
For starters, it's Audi's Phantom Black Pearl. It's often said that Black is not a color, it's a full time job. This is because black will show every defect. The pearl/metallic in the paint will aid in masking some of the minor imperfections, but nearly all will be visible when sun or intense direct light is shown on the paint.
The next point is that cleaning a car often keeps it cleaner for longer. This sounds very odd, but stick with me. Contaminants need time to bond to the paint. Once they bond to the paint, a normal wash will not remove them. If they are removed regularly, they do not have time to bond, which means your car will be cleaner when it's washed. Bonded contaminants also become a magnet for more contaminants. It's not easy for something to bond to your paint, but it's much easier for it to bond to another contaminant. In this way, a dirty car will continue to get dirty faster, it's a downward spiral. The owner washes the car on a weekly basis and it shows. There were only a few areas that required clay to remove bonded contaminants, specifically behind the wheel and at the rear of the vehicle, these are common places to find this due to the amount of road film they are exposed to. It's also common to find them on horizontal surfaces where contaminants settle throughout the day. In this case, the horizontal panels were nearly bare of bonded contaminants and that can be directly attributed to frequent washing.
Finally, even a well maintained daily driver will accumulate defects over time. The owner of this vehicle practices techniques to minimize contact with the paint and thereby reduce defects related to washing. However, this vehicle lives in the real world and as you'll see from the photos, even when meticulously cared for, it did accumulate defects, in this case, over the course of a year.
Process
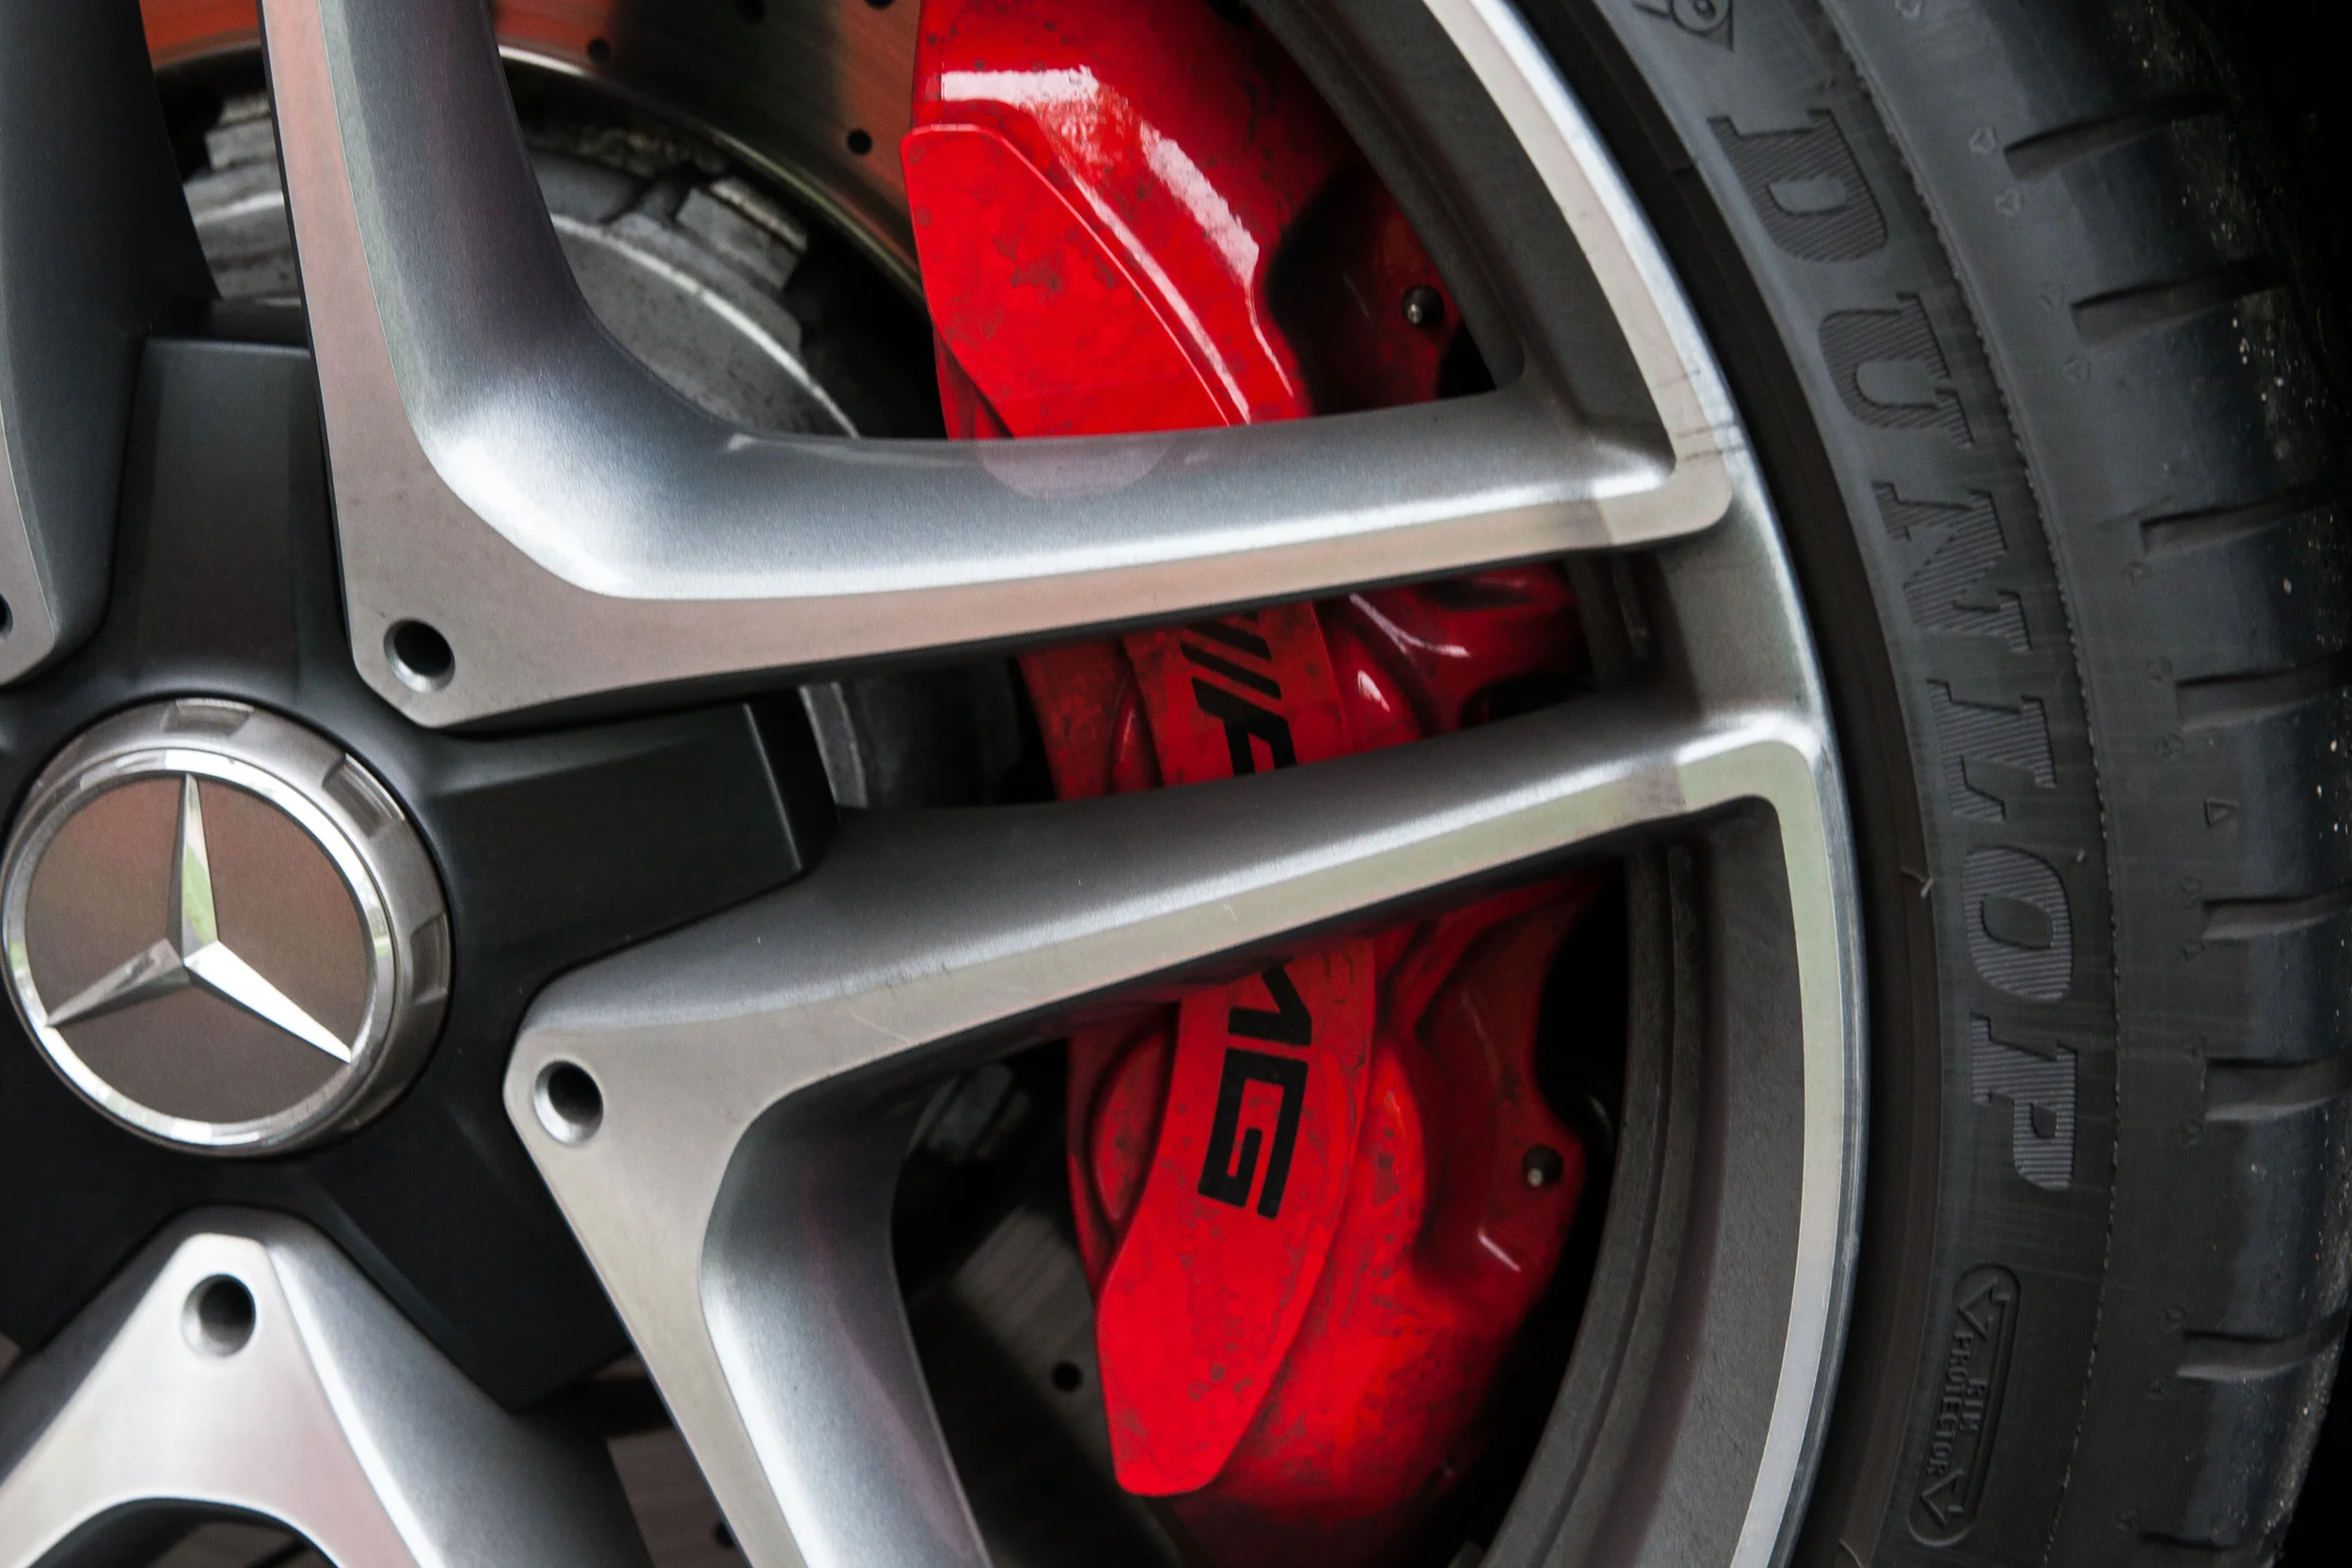
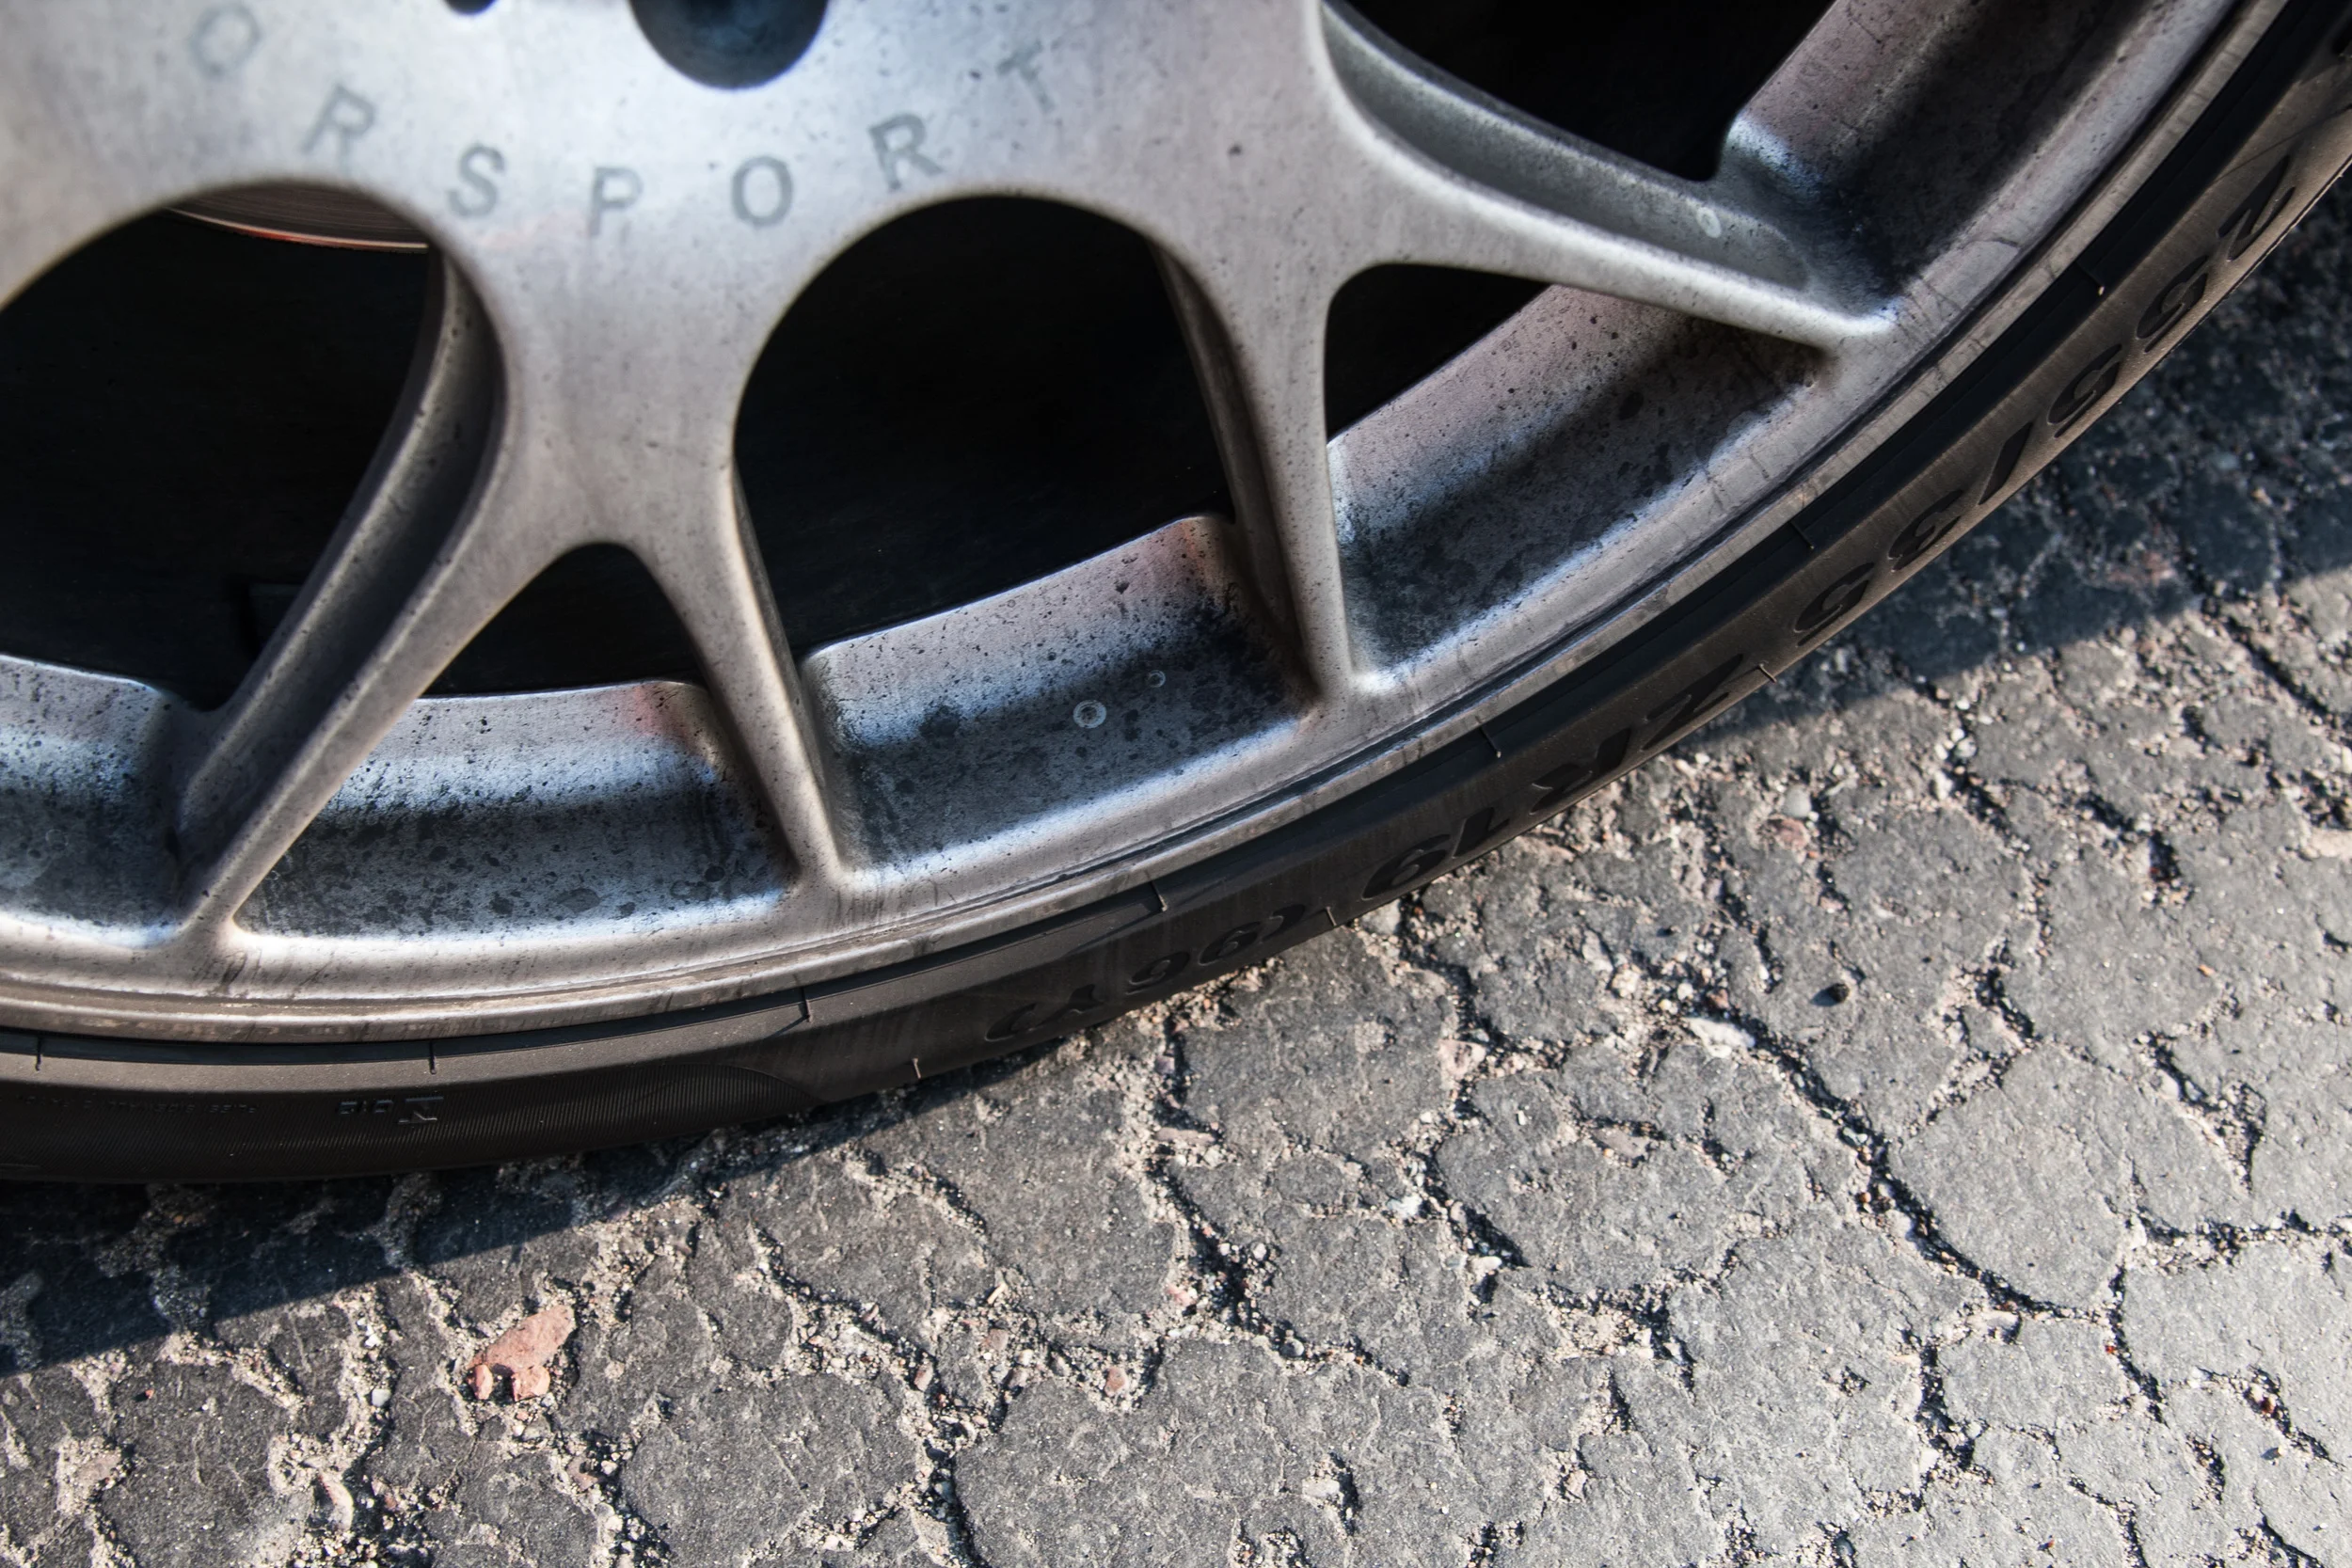
- Wheels and tires cleaned with Meguiar's DUB wheel cleaner and Megs D108
- Prefoamed with CG citrus wash + Gloss and Bilt hamber Surfex HD
- Hand wash with CG citrus wash daily
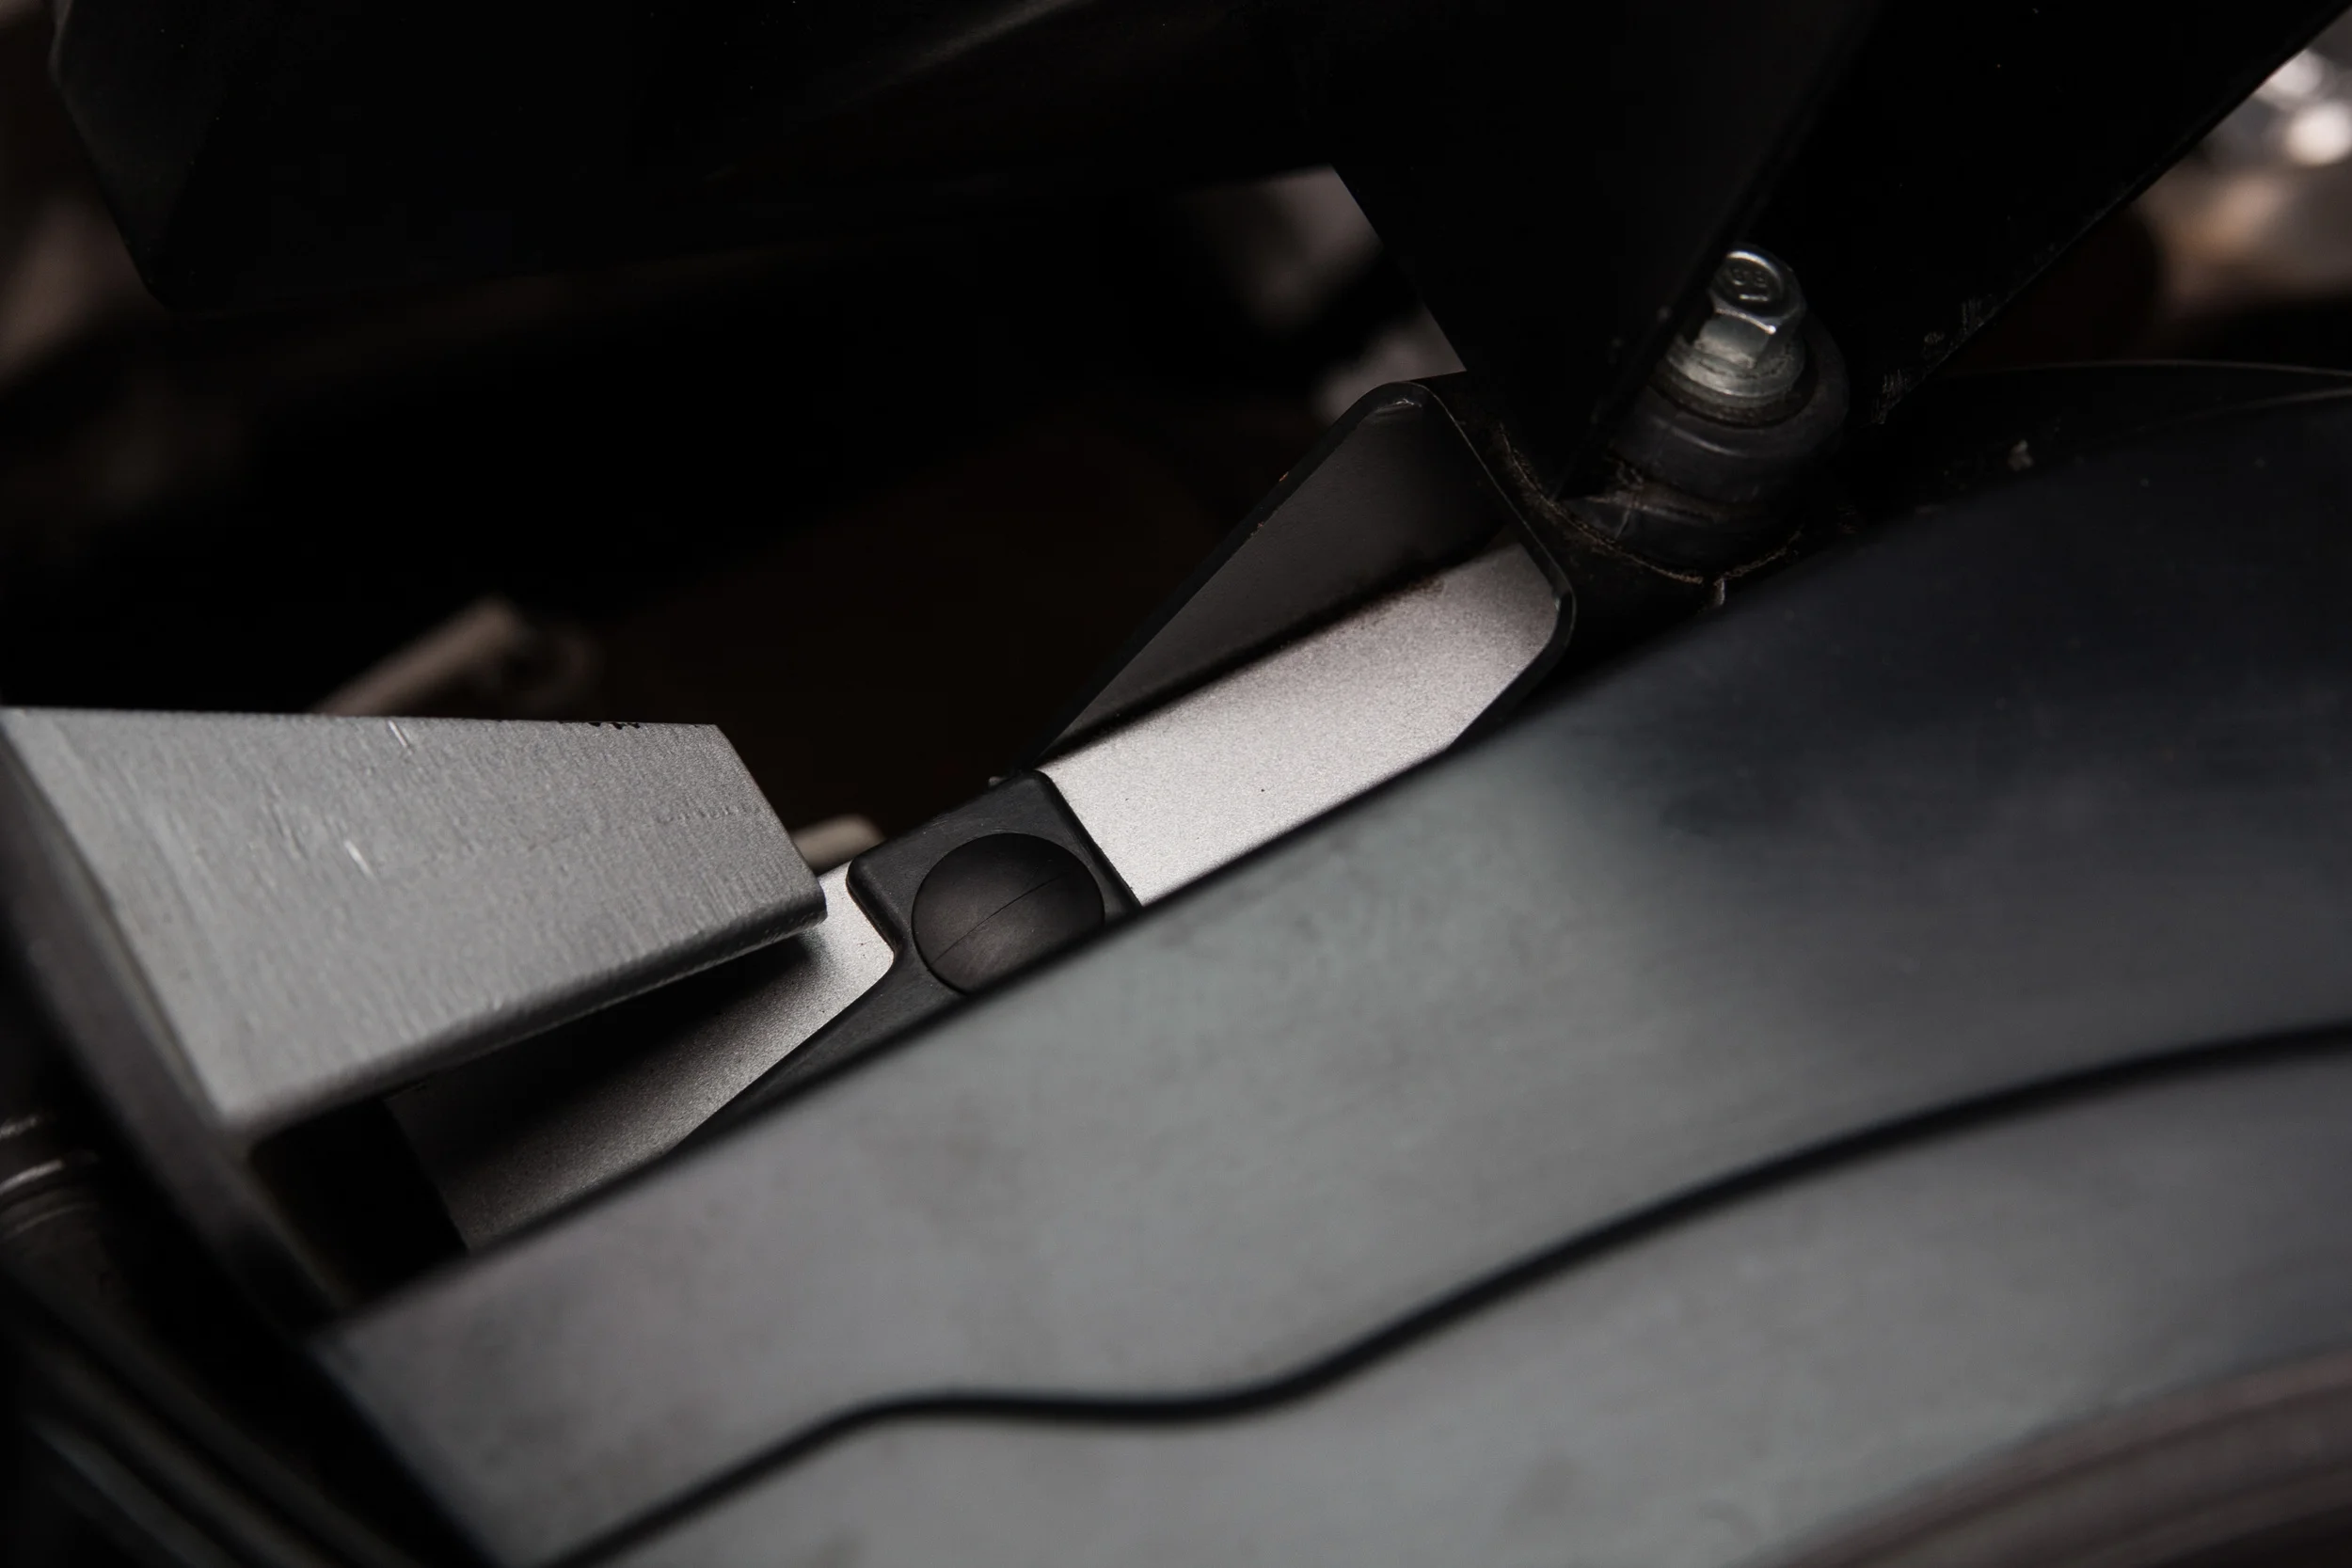
- Polish residue was removed PPF edges with APC, IPA, soft brushes and towels
- Mechanically decontaminated with traditional clay bar
- Paint was polished with HD Polish+ on a 21mm DA with rupes yellow pads
- Tight areas were corrected with HD Polish+ on a flex 3401 with LC white hybrid pads
- Paint was protected with Carpro Reload
- Tires were dressed with carpro PERL
- Trim and wheels protected with carpro hydro2
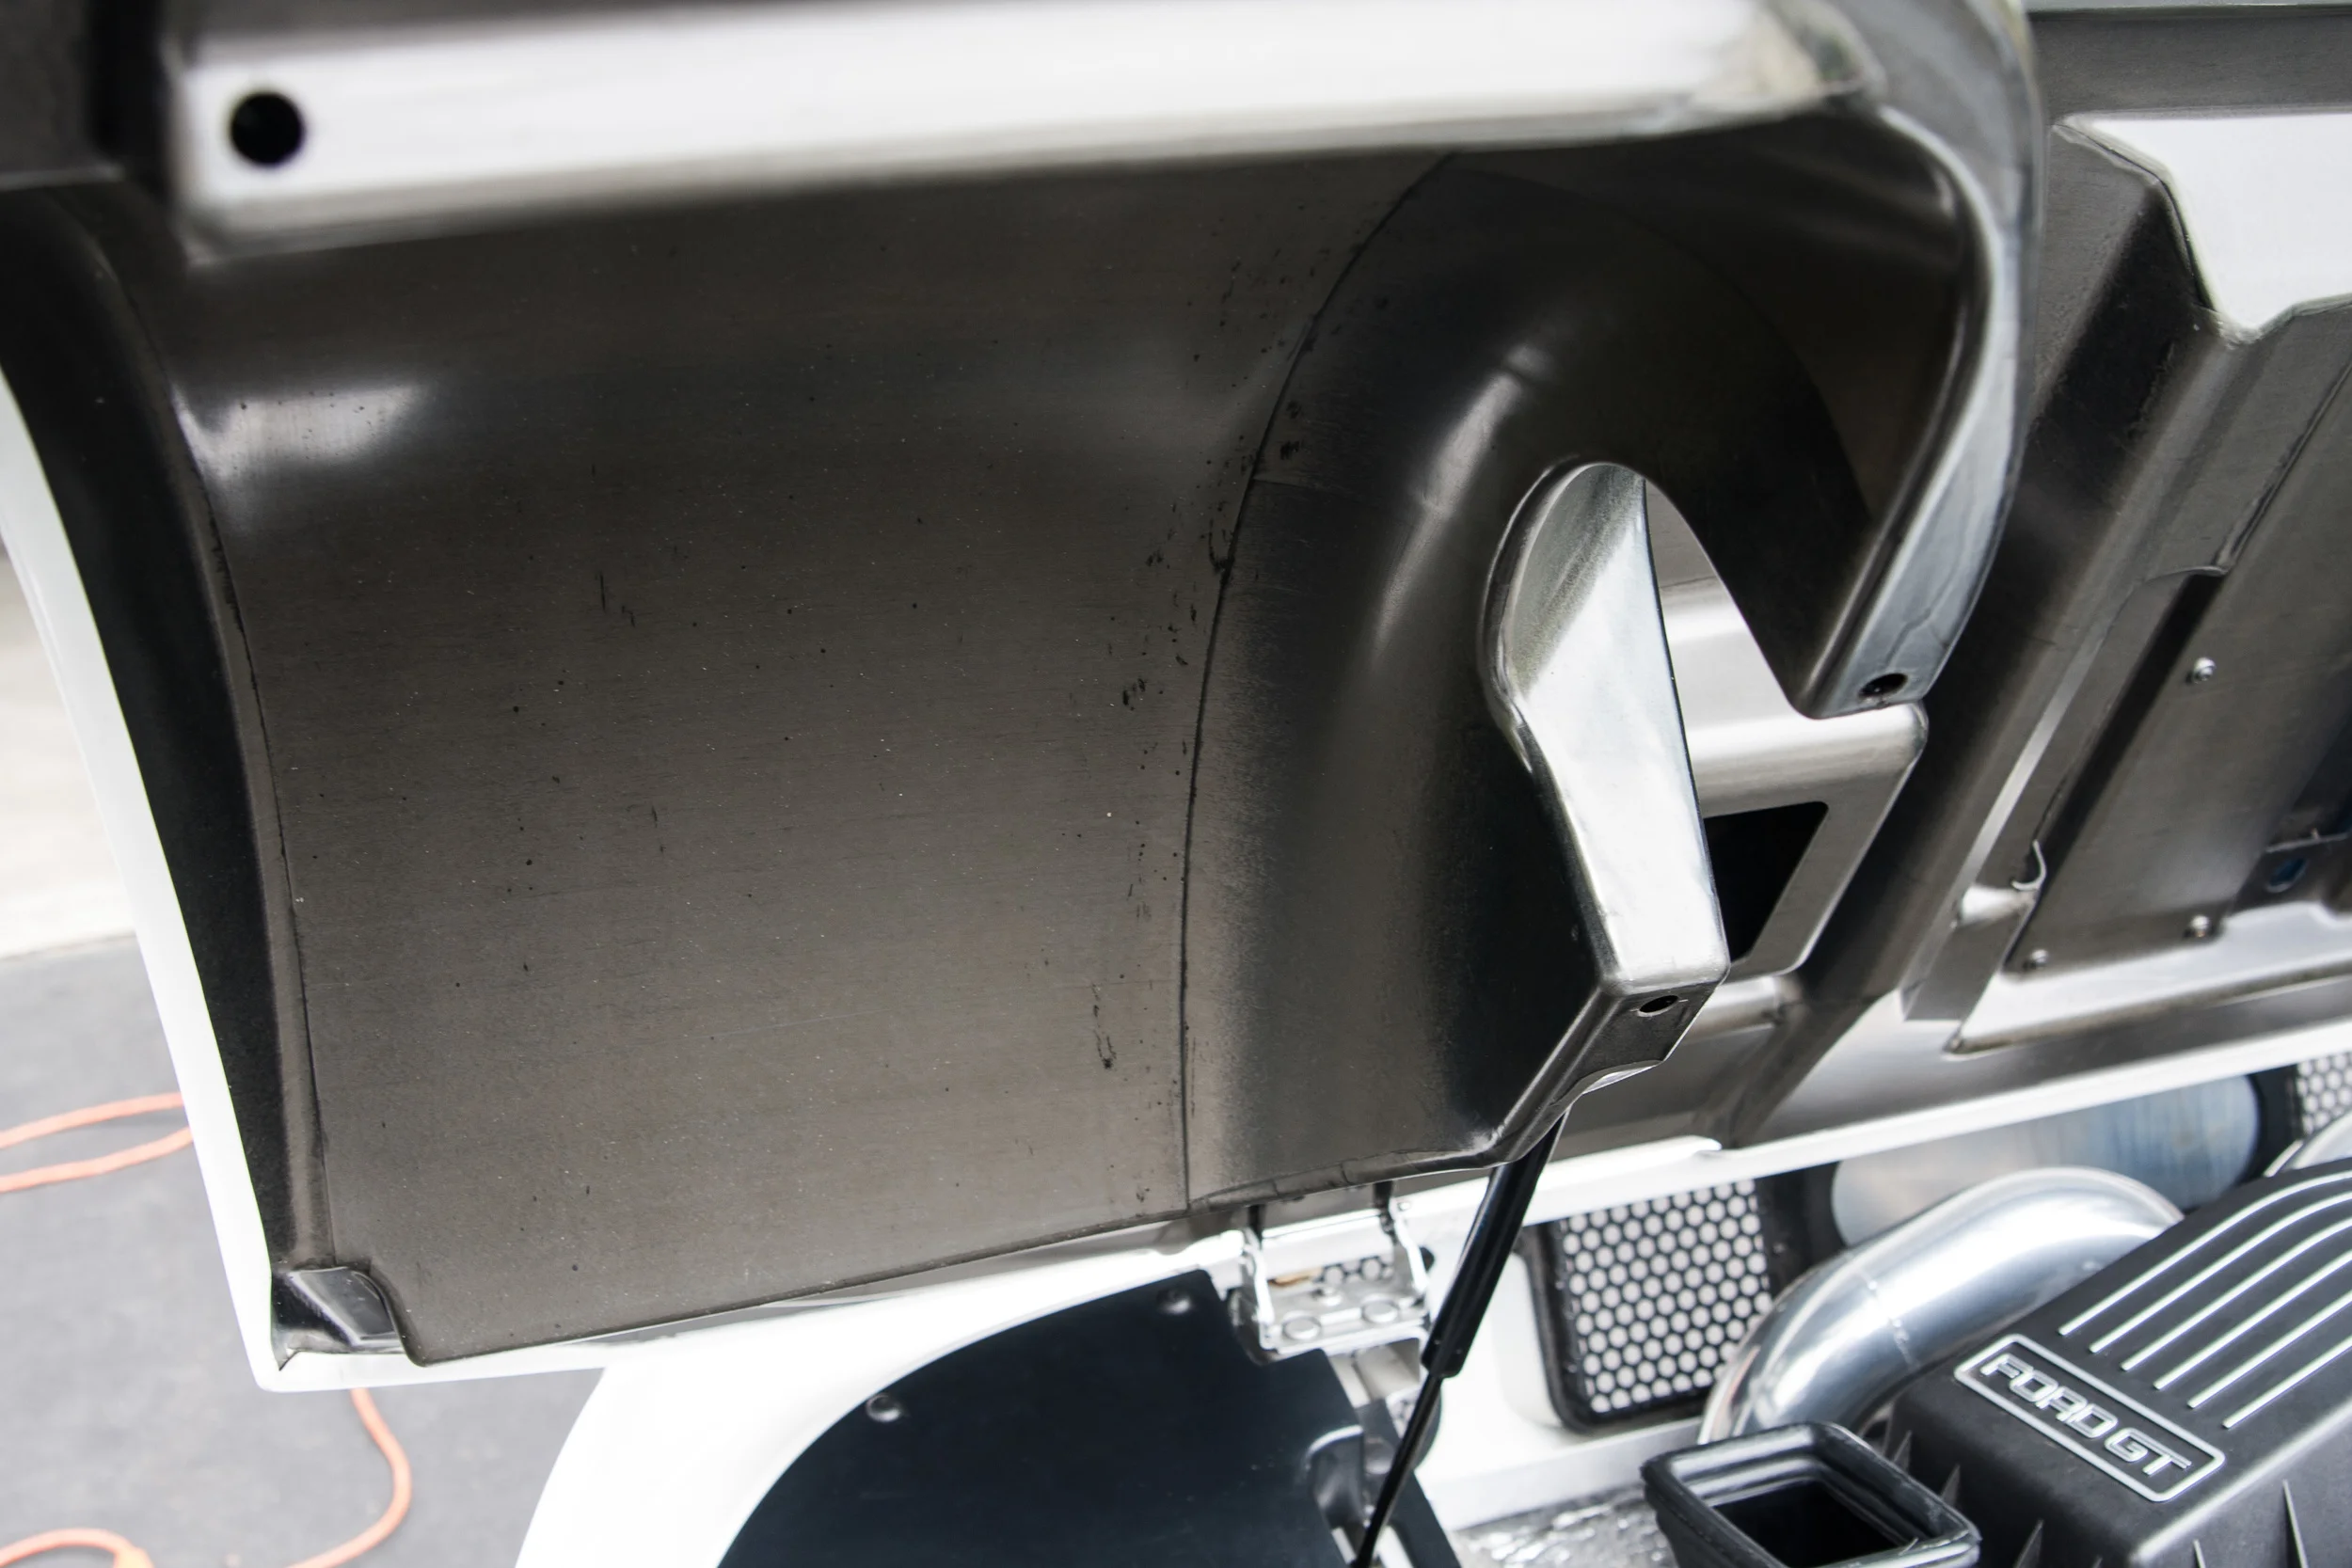
- Exhaust cleaned with pinnacle exhaust cleaner and brightener